Tableau Template Quick Start
This document provides a guide for using the standard template in Tableau.

Contents
If you are creating a new workbook, you will need to start your workbook by downloading one of the templates inside “Templates” folder of the server:
https://tableau.wisconsin.edu/#/projects/13
It includes the following templates:
· Template: Standard
- Use for workbooks containing multiple dashboards
- Contains Home Page and navigation buttons, images, etc.
- Requires further edits by developer
· Template: Single Dashboard Standard
- Use for workbooks containing one dashboard. No navigation tools.
· Template: Institutional Data Explorer
- Use when the end user needs a large dump of data containing many columns
- Contains a single dashboard containing filters
- Results are exported into Excel instead of displayed in the Tableau workbook
· Template: Single Dashboard Standard Portrait
· Template: Printable Landscape
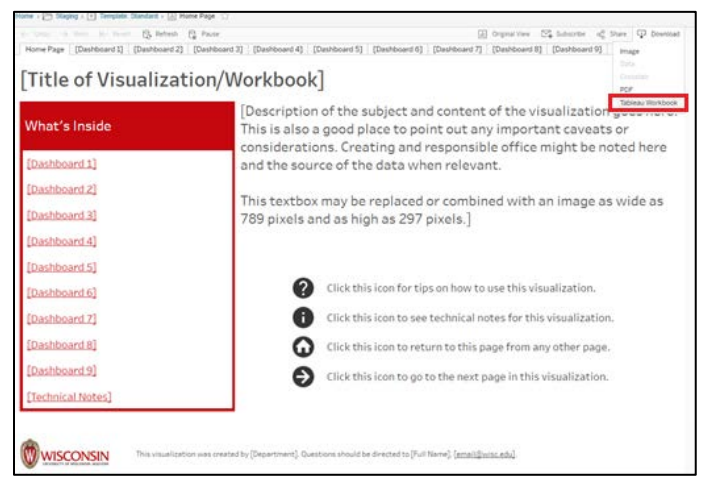
Download the template
- Navigate to the template at https://tableau.wisconsin.edu/#/projects/13
- Open the proper template
- In the upper right-hand corner select download
- Choose “Tableau Workbook”
If you already developed worksheets in another workbook:
- Right-click a worksheet tab in your existing workbook and click “Copy”
- Right click anywhere in the template workbook and click “Paste”
- Repeat with all sheets
- Skip to “Add Worksheet(s) to New Dashboard” below.
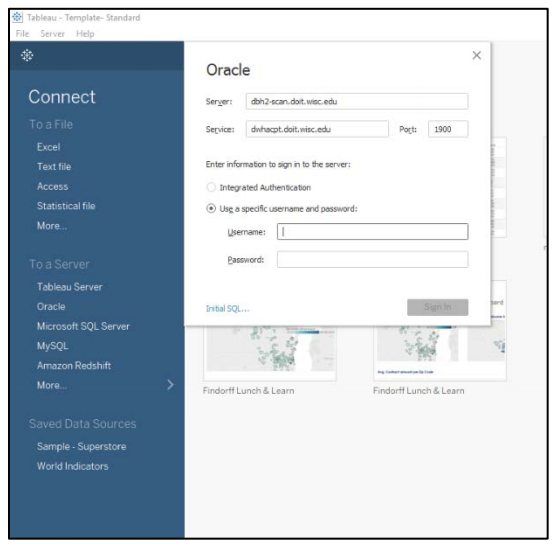
Create data connection
- Select the Tableau logo in the upper left-hand corner:
- From the left hand side menu bar, select the appropriate data connection and enter necessary data:
Create new worksheet(s)
- Add a new sheet
- Create a visualization within the worksheet using new data source
- Repeat as necessary
Add worksheet(s) to new dashboard
- Drag worksheet into the dashboard, directly below the text, ensuring to place the worksheet in the same layout container as the placeholder text (layout container shows as blue box)
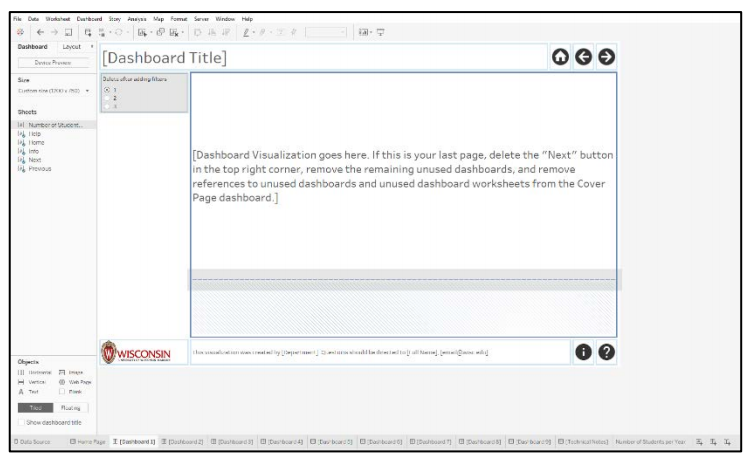
- Delete placeholder text above the new worksheet
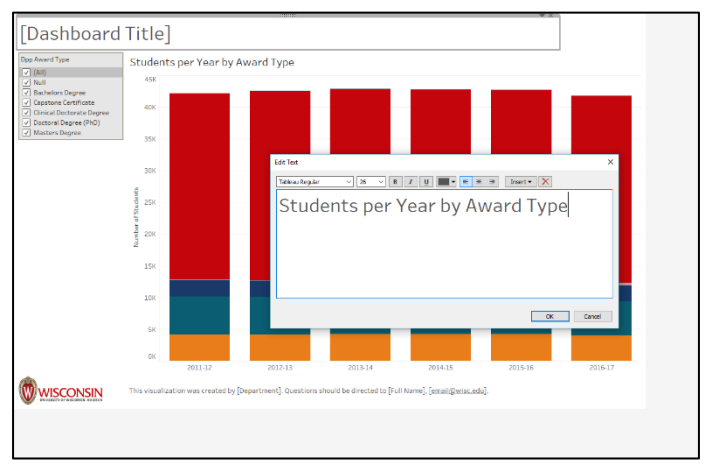
- Replace the "[Dashboard Title]" text with the title of the dashboard
- Edit the footer information to include appropriate identification and contact information
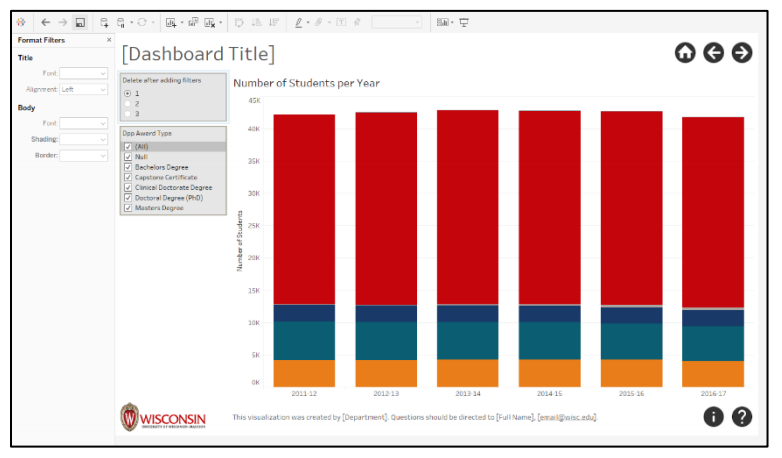
Adjust filter layout
- Add appropriate filters to the dashboard, ensuring new filters are arranged in the same layout
container as the placeholder filter - Format filters to meet our Tableau standards and best practices
- Delete filter placeholder
Change the navigation page
- Right-click the "Home Page" dashboard tab and select "Unhide all Sheets." The numbered sheets each
corresponds to a dashboard in the "What's Inside?" box (e.g. "1" corresponds to "Dashboard 1", "2"
corresponds to "Dashboard 2" and so on) and "Notes" corresponds to "Technical Notes" in the "What's Inside?" box - Go to the "1" worksheet
- Right-click the "[Dashboard]" pill in the "Marks" pane and select "Edit in Shelf"
- Replace the "[[Dashboard 1]]" with the name of the dashboard you want that title in the "What's Inside?" box to
navigate to. The title must be in double quotes, e.g. "Trends in Undergraduate Admissions" - Continue in sequence for as many dashboards as you intend to have
- Leave unused dashboard aliases (example: leave [Dashboard 8] as "[Dashboard 8]" if it is not used in the workbook
- Right-click the "Home Page " dashboard tab and select "Hide all Worksheets"
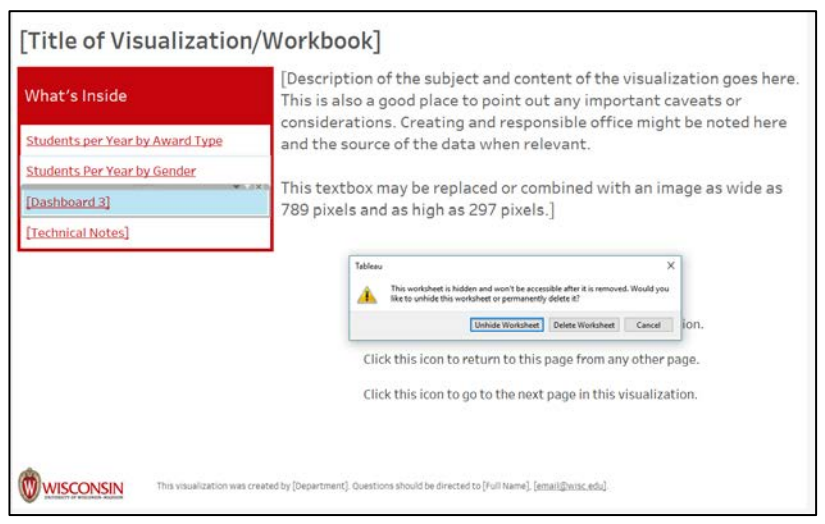
Delete placeholders
- Delete all unused dashboards from the workbook
- Delete all unused dashboard titles from the home page "What's Inside?" container (select "Delete Workbook" in
the pop-up dialogue box) - Delete all unused dashboards from the workbook