
Mass Email Tool Guide - Using the Tool - 2. Creating PDF Memos (Word)
Overview
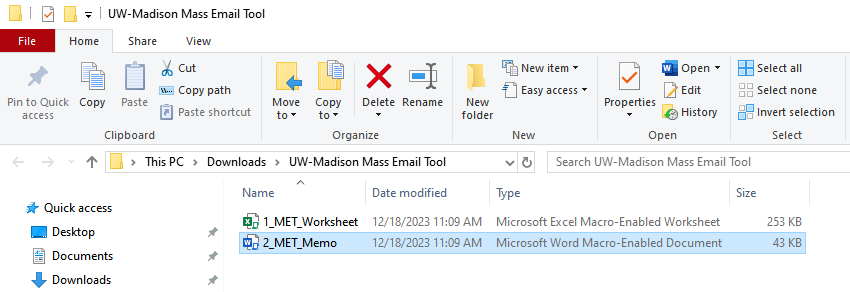
You'll use the 2_MET_Memo (Microsoft Word Macro-Enabled Document) file to create customized PDF memos pulling from the information you entered into the MET Worksheet. This document will walk you through each step of this file. We will refer to this file as the MET Memo in the rest of this guide.
Note: We strongly recommend using the MET Memo to create your PDFs memos. The MET Memo contains mail merge fields prepared to link to the MET Worksheet and also includes buttons to complete tasks, making it much easier to link your Memo to your Worksheet and create PDF memos. The remainder of this document will follow that process. However, if you must use an existing letterhead file, refer to our instructions for creating memos with existing files. Some usability features will be missing in this method, but the resulting PDF files will be the same.
First, open the MET Memo from the folder where you saved it.
Select to enlarge image - image will open in new tab
Important!
You must click the Enable Editing and Enable Content buttons if they're displayed in the top banner after opening the MET Memo. The tool will not work if you do not enable provide this permission!

Select to enlarge image - image will open in new tab

Select to enlarge image - image will open in new tab
If you see a banner that says "SECURITY RISK Microsoft has blocked macros from running because the source of this file is untrusted":
- Follow the instructions from Microsoft to unblock the file.
- If you don't see the Unblock checkbox, you don't have administrator access for your computer. Please contact your local IT team for help with this step.
- Select the Enable Content button as described above.

Select image to enlarge - image will open in new tab
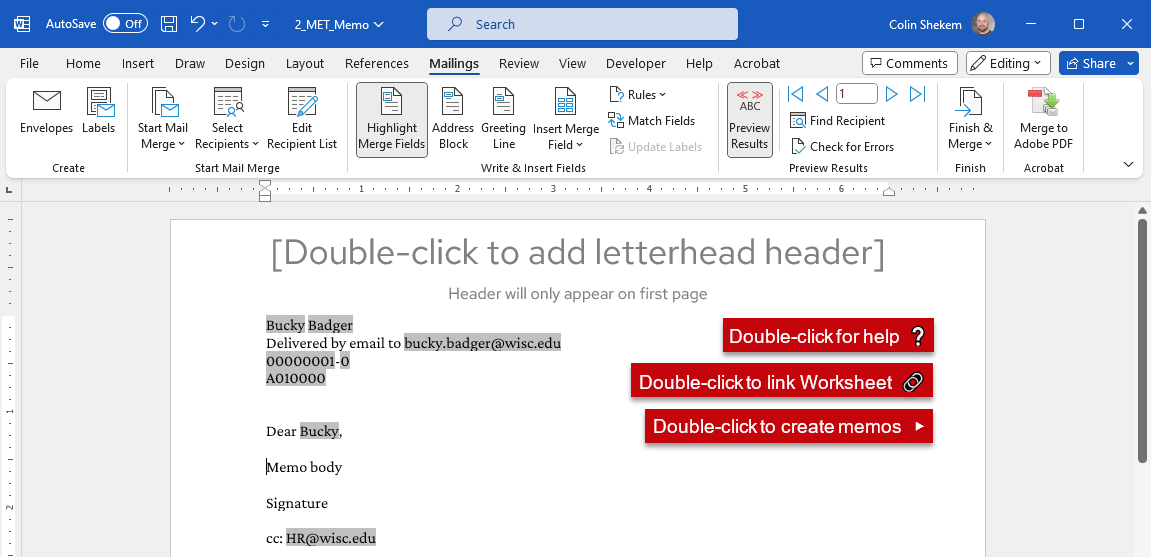
The MET Memo has three buttons towards the top right corner.
- Double-click for help - this button will launch the Mass Email Tool Guide in your default browser.
- Double-click to link Worksheet - this button opens a dialog box for you to select the MET Worksheet to be linked to the Memo for merging fields.
- Double-click to create PDFs - this button will create the PDF memo files once you've finished setting up your memo.
These buttons will not appear in the PDF memos generated by the macro.

Select image to enlarge - image will open in new tab
Process
Set up the Mail Merge
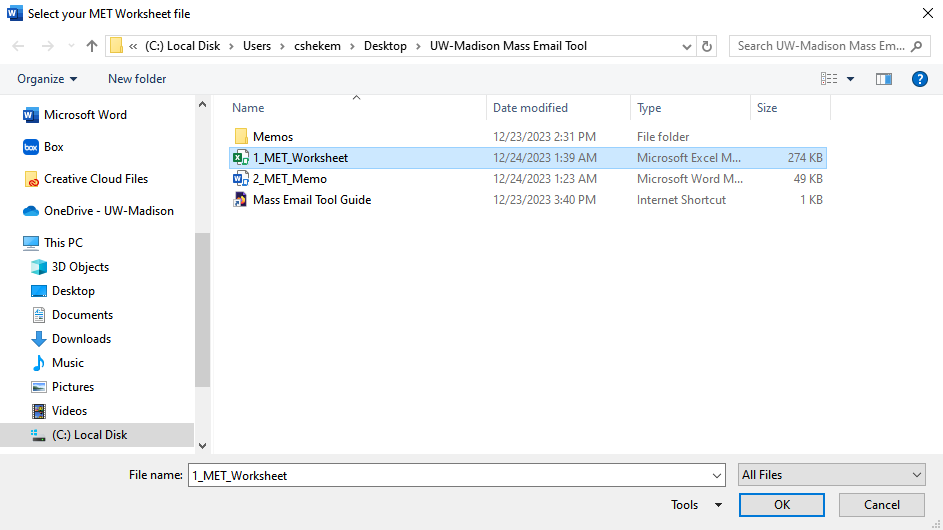
To link the MET Memo to the information you entered into the MET Worksheet, double-click the Double-click to link Worksheet button. This will open a file browser window for you to select the MET Worksheet to connect to the Memo. The window will automatically open to the folder containing the Memo file with the assumption that the Worksheet file is in the same folder.
Select image to enlarge - image will open in new tab
After you select the Worksheet file, the macro will set up a mail merge connected to the Mail Merge (read-only) sheet of the Worksheet file you selected and preview the merge fields.
Select image to enlarge - image will open in new tab
Verify the Mail Merge
Make sure the mail merge is showing merge fields correctly. You can use the Next/Previous Record arrows in the Preview Results section to review memos one by one, or click the Last Record arrow to verify that the mail merge recognizes all of the rows that you expect.

Select image to enlarge - image will open in new tab
Update the Memo
Once the mail merge is set up, update the rest of the memo content as needed. You may add or remove any merge fields to use information from the Worksheet within the memo. Double-click in the header or footer to replace the placeholders with content copied from other letterhead files or write new headers and footers from scratch. The styling of the MET Memo is based on University Marketing's Color Letterhead Template.
Create PDFs
When your memo is all set up and you're ready to create your PDF memo files, double-click the Double-click to create PDFs button and follow the prompts. The macro will create a separate PDF file for each row of the worksheet you set up previously using the file location and naming you specified.
In the next step you'll return to the MET Worksheet to send the emails and memos you've created.