Mass Email Tool Guide - Using the Tool - 3. Sending the Emails (Excel)
Overview
The final step is to send the emails and memos that you've created.
Process
Preparing Outlook
The emails sent by the Mass Email Tool will send from your Outlook default email account. In most cases, this is your individual UW-Madison email account. Follow these steps to check your Outlook default email account:
- In Outlook, click the File tab in the top menu
- Click the Account Settings button
- Select the Account Settings... option
- Your default account has a checkmark next to it and Outlook displays the message "send from this account by default"

Outlook Account Settings window showing default account indicator
Select image to enlarge - image will open in new tab
If this is the email address you want to send your Mass Email Tool emails from, you can skip to sending the emails.
If you want your Mass Email Tool emails to send from a different address, you'll need to set up a new Outlook profile to log directly into the account from which you want to send.
Sending Emails
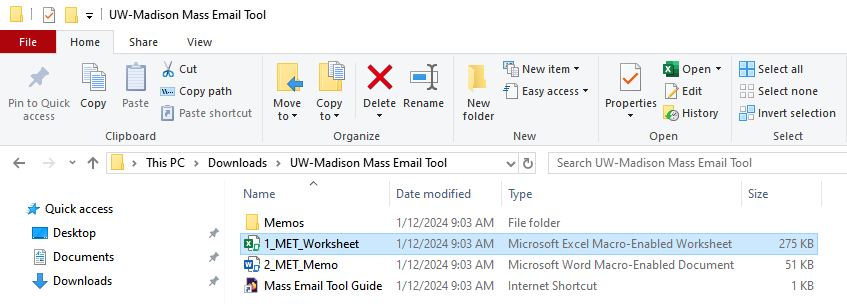
To send the emails, you'll open the MET Worksheet again.

Select image to enlarge - image will open in new tab
If you'd like, review the Mail Merge (read-only) sheet one more time to look for any obvious errors you might have missed previously.
If you'd like to see the final version of the emails before sending, select the Open preview email button. This will open a new email in Outlook using the settings you've configured and the information from the first row of your Enter Data sheet. Windows doesn't always bring new emails to the focus, so if you don't see the email after clicking the button check your taskbar to see if the email opened in the background. Be sure to close this email without sending to avoid that recipient getting duplicate emails.

Select image to enlarge - image will open in new tab
Finally, click the Send emails button. You will be prompted to confirm this action before any emails are sent to avoid accidental sending.

Select image to enlarge - image will open in new tab
This macro passes information to Outlook about the emails to send. Outlook then sends the emails. The Mass Email Tool does not get feedback about the emails after this step, so refer to Outlook to make sure all emails send correctly.
Office 365 Email Limitations
Note that Microsoft sets limitations on Office 365 email usage. The most relevant limitation for the Mass Email Tool is that an account can only send emails to up to 10,000 recipients per day, which includes all addresses in the To, Cc, and Bcc fields. The MET Worksheet will attempt to count your email recipients before sending the emails and display an error if your project includes more than 10,000 recipients.
