
ECMS - Install and Configure the Perceptive Content Desktop Client
Prerequisites:
- Someone with local administrator privileges on the computer must install the Perceptive Content client
- All implementations of the Perceptive Content client require read and write access to the user's
%AppData%\\ImageNowfolder (for Capture Profiles) - Perceptive Content Scanner Workstation implementations also require read and write access to the computer's
%ProgramData%\\ImageNowfolder - These folders can be found by using Windows File Explorer and entering
%AppData%\\ImageNowor%ProgramData%\\ImageNowin the address bar
Install and Configure Perceptive Content Desktop Client
Follow the steps below to install and configure the Perceptive Content Desktop Client on a Windows machine. The steps to install and configure the client are fundamentally the same as previous versions of the client. Note that there may be a build mismatch between client and server if the client has required no changes but the server has.
- Download the client installer for Perceptive Content 25.1: ClientSetup_25.1_511.exe.rename
You may see "We're sorry, this file type is not currently supported." This is because the file is named ClientSetup_25.1_511.exe.rename and .rename is an unknown file type. We do this because some systems have security set to disallow downloads of .exe executable files. Simply click on the [ Download ] button. This will initiate a file download. - Go to your computer's Downloads directory, and locate the file named ClientSetup_25.1_511.exe.rename
- Select the downloaded file
- Right-click (or [Ctrl left-click] the file) to display a context menu of options
- From the context menu, select Rename
- OR Press the F2 key
- Delete the .rename portion of the name so that the file is renamed to ClientSetup_25.1_511.exe and press the Enter key

- A Rename warning dialog box displays, asking whether you are sure you want to change the file name extension. Click Yes to continue
- The renamed file ClientSetup_25.1_511.exe displays in your Downloads directory on your computer
- Right-click on the new, renamed ClientSetup_25.1_511.exe file to display a context menu of options. From the context menu, select Run as administrator

- If you see a User Account Control dialog box displaying the warning message, Do you want to allow the following program from an unknown publisher to make changes to this computer, select Yes to continue.
- The Perceptive Content Desktop Client - InstallShield Wizard dialog box displays, asking you to select the language for the installation. Click OK to continue.
- The Perceptive Content Desktop Client - InstallShield Wizard dialog box displays a message that it is preparing the InstallShield Wizard to guide you through the program setup process, and to please wait.
- The Perceptive Content Desktop Client, Installation Wizard launches and displays a Welcome screen. Note: If you are upgrading from a previous version of Perceptive Content Desktop Client, the Welcome screen allows you to modify, repair or remove Perceptive Content Desktop Client.
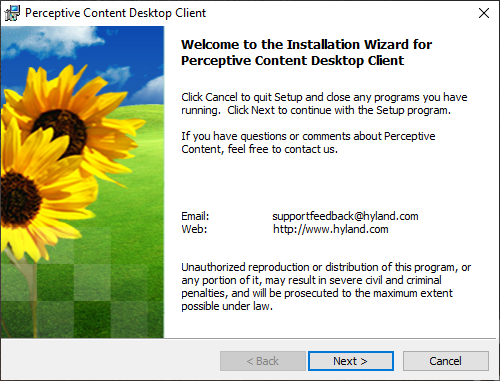
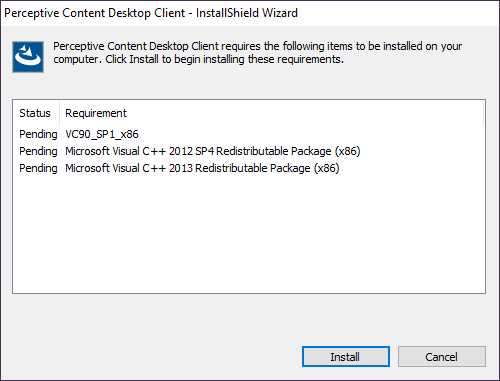
Click [Next >] to continue. - This client application has prerequisite software necessary for its installation. There are multiple components and if any one of them is not installed, the client installation process will download and install them without needing your intervention. The full set of prerequisite software is shown here:
- If you are installing for the first time, a License Agreement dialog box displays. Scroll to the end of the license agreement, and select the option for I accept the terms in the license agreement.
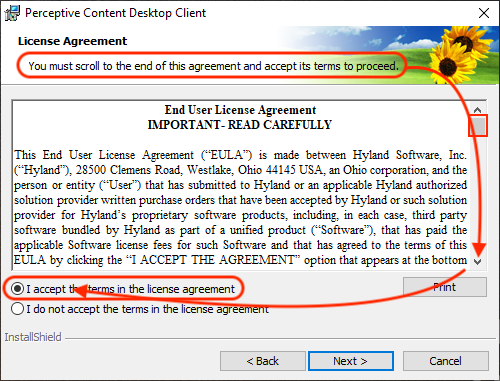
Click [Next >] to continue - The Custom Setup dialog box displays, asking you to select the program features you want installed.
- Select all of the available features for local installation.
- If you see a red X next to one of the feature names (e.g. ImageNow Printer), it means that feature will not be installed, unless you choose otherwise.

- Click [Next >] to continue
- If you are installing Perceptive Content Desktop Client for the first time, the Default Connection Profile dialog box displays default settings for the profile's Name and Server name that you need to change. Changing this default connection profile and adding additional profiles allows you to use one or more UW-Madison Perceptive Content environments (e.g. Production, Development, Test, Schema).
Note: The Port number field defaults to 6000, and does not need to be changed.
Integration Server URL for ease of copying:https://imaging.wisc.edu/is_openid - Refer to the table below for guidance on entering information to connect to the desired UW-Madison Perceptive Content server environment:
Name Server Name and Integration Server URL PROD Server name:
Integration URL:Imaging.Wisc.eduhttps://imaging.wisc.edu/is_openidTEST Server name:
Integration URL:Test.Imaging.Wisc.eduhttps://test.imaging.wisc.edu/is_openidDEV Server name:
Integration URL:Dev.Imaging.Services.Wisc.eduhttps://dev.imaging.wisc.edu/is_openidSCHEMA Server name:
Integration URL:Schema.Imaging.Services.Wisc.eduhttps://dev.imaging.wisc.edu/is_openid_dev2 - After completing information in the Default Connection Profile dialog box, click Next to continue.
- If the Installation Wizard displays the Perceptive Enterprise Deployment Server dialog box, enter the following information in the Deployment Server URL field:
http://deploy.imaging.services.wisc.edu:8080/pedserver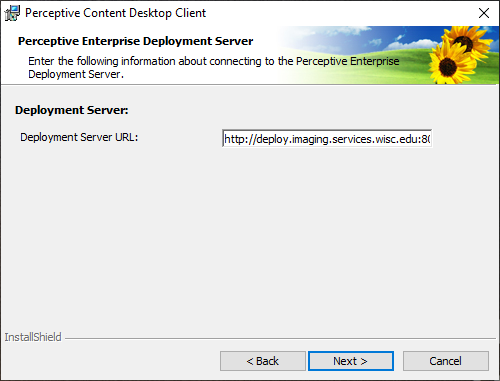
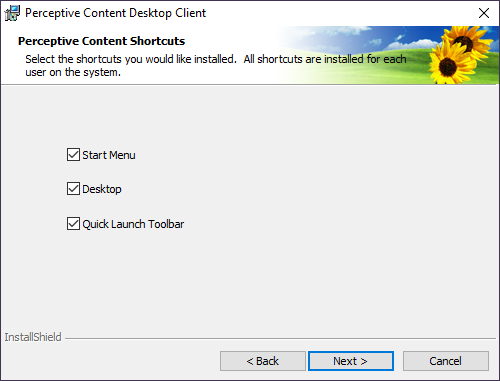
Click [Next >] to continue - The Installation Wizard displays the Perceptive Content Shortcuts dialog box. By default, all shortcuts are selected. Deselect items, if desired.
Click [Next >] to continue - The Ready to Install the Program dialog box displays.
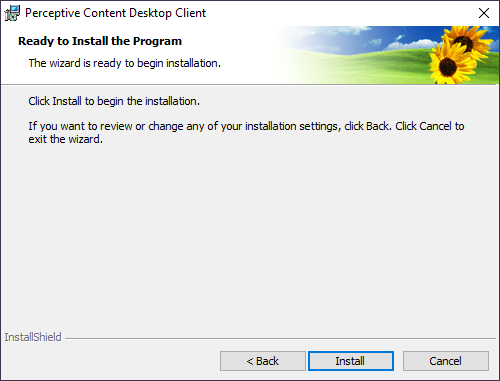
Click the Install button to begin the installation - The Installing Perceptive Content Desktop Client dialog box displays a message that the program features you selected are being installed and to please wait.

- Depending on the versions and software installed or running on your computer, you may need to restart your computer.
![Reboot will be required, click [OK] to acknowledge](/images/group155/133027/RebootRequired.PNG)
Click [OK] to acknowledge each time this is displayed - Once the installation of the Perceptive Content client has completed,
![Installation Complete, click [Finish]](/images/group155/133027/InstallationWizardCompleted.PNG)
click [Finish]
MAKE SURE you configure the ImageNow Printer properly by following the steps detailed here:
ECMS - Configuring the ImageNow Printer and Tiff Compression Formats
Possible Messages Displayed During Installation:
- If you are upgrading from a previous version of the Perceptive Content Desktop client, you may be advised about replacing the software without changing your settings:
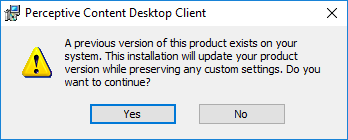
Click [Yes] to continue - If you are upgrading from a previous version of Perceptive Content Desktop Client, and you have the old version open and running, you may see a message advising you that a reboot will be required.
Click [OK] to acknowledge that you will need to perform a reboot afterwards
You may be able to resolve the issue by first switching to the open, active Perceptive Content Desktop Client, close it, and then switch back to the Installation Wizard, and click [OK] as instructed above - When the Installation Wizard has finished installing Perceptive Content Desktop Client, the Installation Wizard Completed dialog displays.
Click [Finish]
Post-Installation Steps
- Configure the ImageNow Printer
- Verify Customized Capture Profiles Display
Configure the ImageNow Printer
After installing the ImageNow Printer during the client installation, you need to perform additional steps to ensure the ImageNow Printer prints in color and generates document thumbnails properly.
Refer to ECMS - Configuring the ImageNow Printer and Tiff Compression Formats for detailed information.
Verify Customized Capture Profiles Display
When you log into Perceptive Content Desktop Client, and click on the Capture drop-down menu, you should see the default capture profiles (e.g. Import from disk - Single mode, Import from disk - Batch mode), as well as your own Division/Department's customized capture profiles. The screenshot below shows two customized capture profiles named Applications - B&W and Fujitsu Scanner - Color, as examples.
What to Do if You Do Not See Your Customized Capture Profiles
- You or your local computer desktop support person should replace the existing inscan.xml file containing the default Perceptive Content Desktop Client capture profiles with your customized inscan.xml file containing your Division/Department specific capture profiles and settings. Your copy of your Division/Department's customized inscan.xml file needs to be located in the following folder:
Refer to the screenshot example below for the folder location for user Bucky Badger's customized inscan.xml file.%AppData%\ImageNow
- If you need additional technical support, please contact the Imaging Team at
Imaging-Support@g-groups.wisc.edu