Topics Map > Office 365
Microsoft 365 (Windows 10 Mail | Calendar | People) - Configure Mail and Calendar
This document explains how to connect to the Office 365 service.
Configure Windows 10 Mail and Calendar for Office 365
- Open the Windows 10 Mail application.
- For first time setup, click Get Started on the "Welcome" screen.
- On the "Accounts" screen, click + Add account button.
- On the "Choose an account" screen, click Exchange - Exchange, Office 365 button.
- On the "Exchange" screen, enter your primary email address of the account you are configuring - which will take one of the following forms: netid@wisc.edu or first.lastname@wisc.edu or name@domain.wisc.edu.
- Click Next.
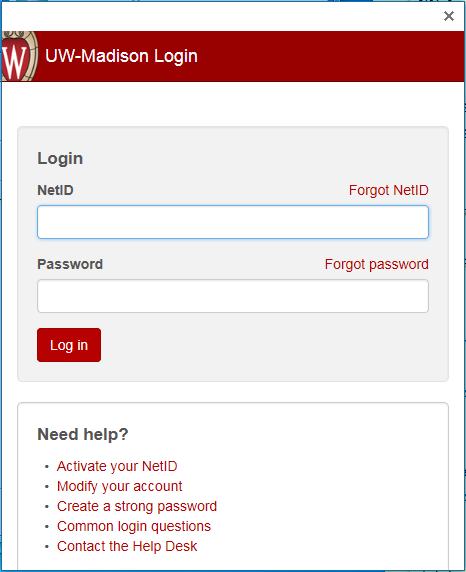
- The wizard will begin the process of connecting Mail to Office 365. You will be redirected to UW-Madison's Login system.
- NetID
- For NetID Account (e.g. bbadger@wisc.edu), enter:
- bbadger
- For Service Account (buckingham.badger@doit.wisc.edu) enter:
- buckingham.badger_doitFor multi-level domains, name@domain1.domain2.wisc.edu, use the following format: name_domain1.domain2.
- buckingham.badger_doit
- For NetID Account (e.g. bbadger@wisc.edu), enter:
- Password: Enter the password associated with the account you entered above.
Note: if you don't know whether you are attempting to configuring a NetID account or a Service account, please contact your domain administrator or the DoIT HelpDesk.
- NetID
- Click Log in.
- On the "using your account on other apps" screen, select the desired option.

- On the "You're all set!" screen, click Close.
- When prompted to make your PC more secure, click Enforce these policies.

Important: Learn more about Windows Privacy Settings.
- On the "All done!" screen, click Done.
- You will be returned to the "Accounts" screen, click Ready to go.
The connection will be made and your account data will be synced.
It is recommended you make the following changes to your account.
- Right click on your account: Wisc (bbadger@2wisc.edu) and select Account Settings.
- Click Change mailbox sync settings.
- Download new content: as items arrive.
- Download email from: any time.
- Click Done.
- Account Name: Office 365
- Click Save.
Note: To access your Office 365 calendar, click the "Switch to calendar" button located in the lower left navigational bar of the Mail app.


