Windows 10 - Changing the System Date and Time
This document explains how to change the system date and time in Windows 10.
Before you begin
Important note: You will need administrative rights on your computer to be able to change the date and time.
How to change your system date and time (Windows 10)
-
Right-click on the time at the bottom right of the screen and select Adjust Date/Time.

-
A window will open. On the left side of the window select the Date & time tab. Then under "Change date and time," click Change. Both "Set time automatically" and "Set time zone automatically" must be Off to make this change.

-
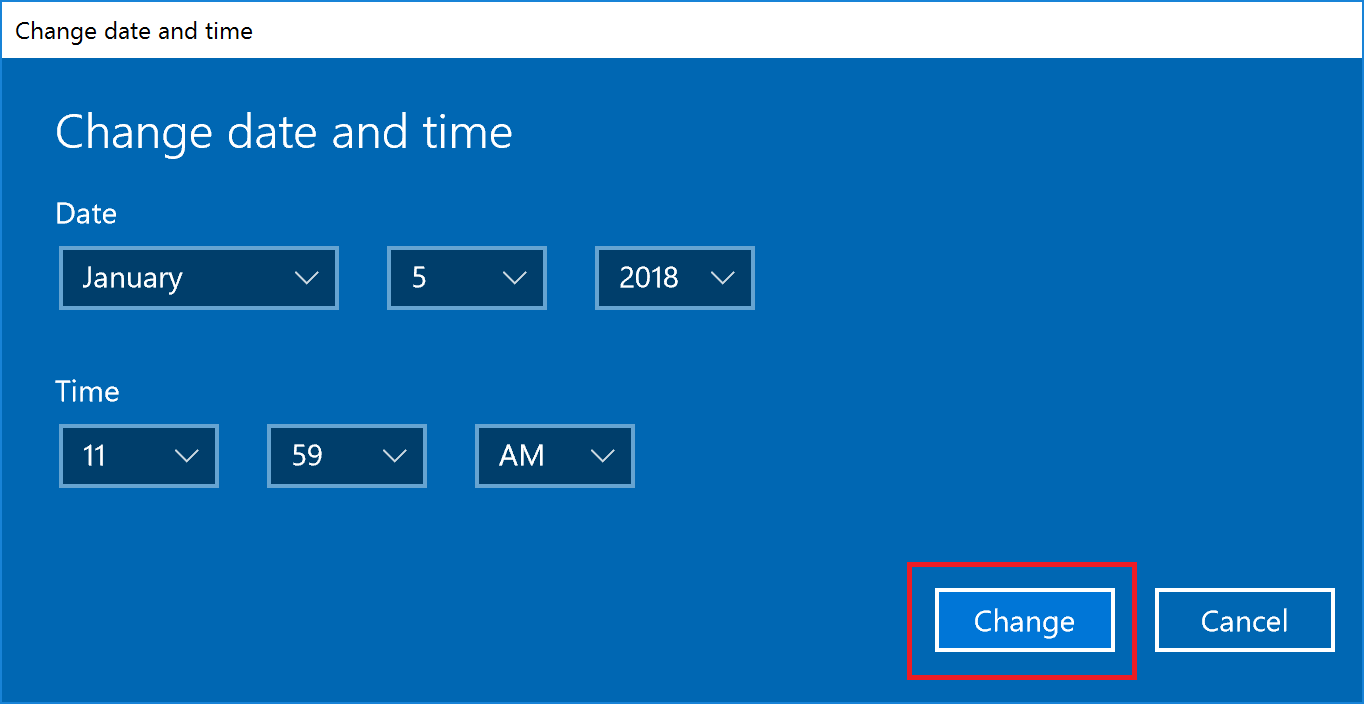
Enter the time and press Change.
Computers connected to the internet should automatically adjust for daylight savings time.
For further instruction, please visit Microsoft Support documentation.


