Topics Map > Bucky Backup
Bucky Backup - File Restore Procedure
This is a tutorial of the basics for doing a Bucky Backup Restore. Restores for individual user machines can be done by the user, but restores for servers should be done by a system administrator.
- Select Start->Programs->IBM Storage Protect->Backup Archive GUI
- Note: Older versions will be installed under Start->Programs->IBM Spectrum Protect->Backup Archive GUI
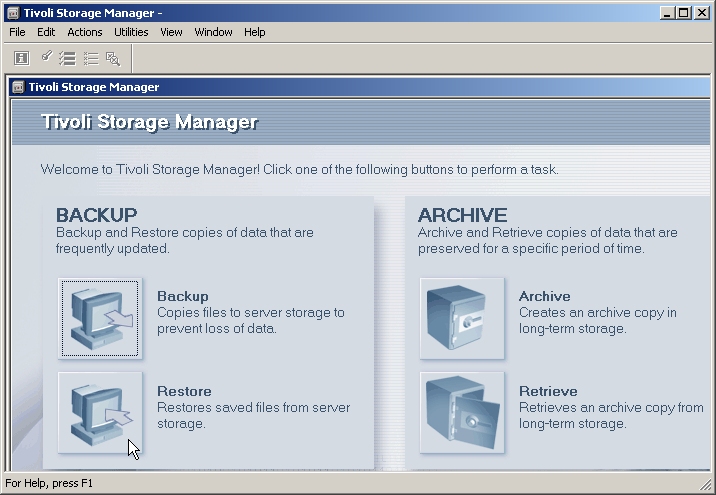
- This will display the Main menu, with Backup, Restore, Archive and Retrieve icons.
- Click on Restore.
- On the left side, you'll see a tree-view of your Bucky Backup data. Highlight an item on this side and its contents will show up on the right side of the window. By default, you will only see “active” files. This means, you will only see files that still exist on your machine. Expand “File Level” on the left side to see what data is available from your disk drives.
- If you want to restore any data that has been deleted off your machine, go to View -> “Display active/inactive files” so that the TSM client will display them for you.
- If you wish to restore a version of a file that isn't the last version backed up, also click the “Point In Time” button. Enter a date/time to see what is available from your backups at that particular point in time. Keep in mind that for deleted files, only the last backed-up version is kept on Bucky Backup, and only for 180 or 365 days (depending on your policy domain. If you had any special Management Classes created for your node, your length of retention may be different, but 180 & 365 days are the 2 defaults).
- Select everything that you want to restore by checking it. (Checking a folder also checks everything inside that folder.) Click the Plus signs (+) to expand the tree view.
- Once all selections have been made, click on the Restore button.

- The destination window will be displayed.
- Select Orginal Location or Following Location to restore to a new location.

- The Task List is displayed and this will show the progress of the restore or allow the restore to be stopped.

- If files are being restored and a duplicate filename exists, the File Exists window is displayed. The options are: Replace, Do not Replace, Cancel and Help.
- Restoring to the original location will naturally produce a lot of "file already exists..." messages and if the files are being replaced there is a check box for: "Apply action to all remaining files"

- When all files have been restored a Detailed Status Report is displayed. There will information there like how many files were restored and how many failed.
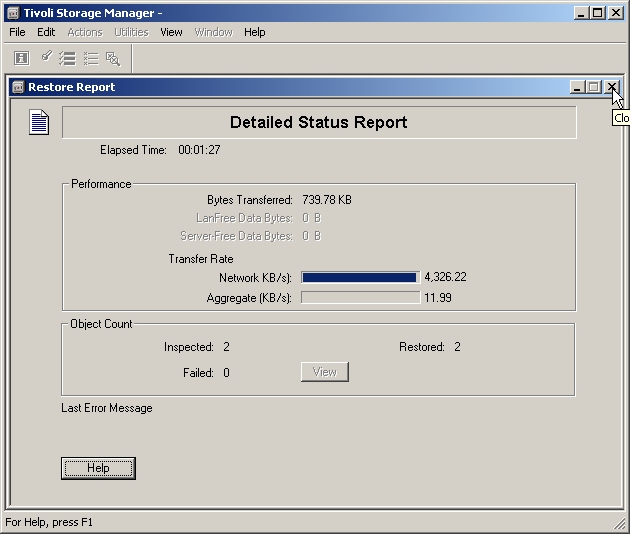
- The final step is to click OK for the restore completion window.
