Topics Map > Canvas
Topics Map > Kaltura
Kaltura - Webcam Recording in Canvas [UW-Madison]
This document describes how students, staff, and instructors can use the Kaltura Webcam Recorder in Canvas to record simple webcam video, screen capture and audio directly from within their browsers.
Kaltura's Webcam Recorder works within any WebRTC-enabled internet browser and is entirely browser-based. A good browser option is Chrome. No additional software or plugins are needed. The Webcam Recorder offers basic webcam video, screen capture and audio recording. Other capture software to consider using are Kaltura Capture or TechSmith Camtasia. We recommend you keep your recordings relatively short: 5-10 minutes.
To record a video in Canvas:
- Go to any Canvas Page, Assignment, Discussion which allows you to use the rich content editor. Click Edit or Reply to open the rich content editor.
NOTE - You can also access Kaltura My Media in Canvas and continue from step 3. - In the rich content editor, click the Embed Kaltura Media icon.
- On the Kaltura Media page, click Add New and select Webcam Recording.

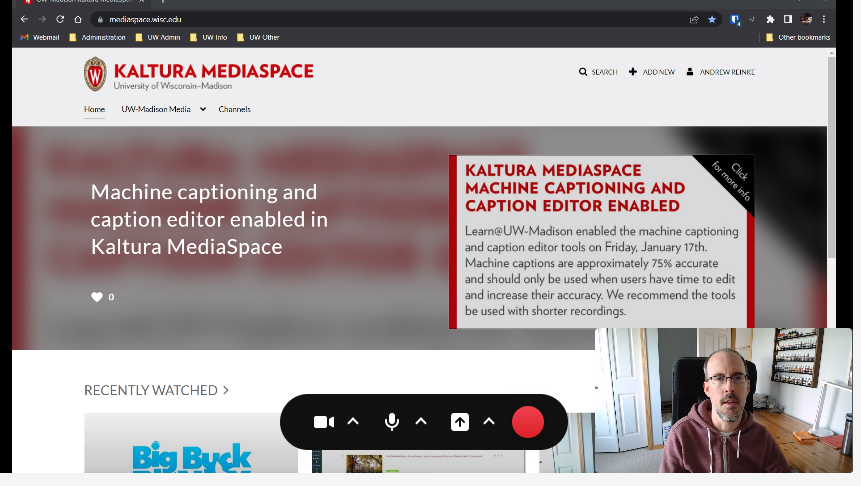
- The webcam recorder tool will appear. Your browser will probably prompt you to indicate that the website wants access to your microphone and camera. Click Allow.

- The webcam recorder may be slightly larger than can fit in the opened window and require you to use the scroll bars on either side. Click the Icons at the bottom to open settings and choose what camera, screen and microphone to record from.
- Click the big red button to begin recording. A three-second countdown will appear for you to prepare yourself for your recording.
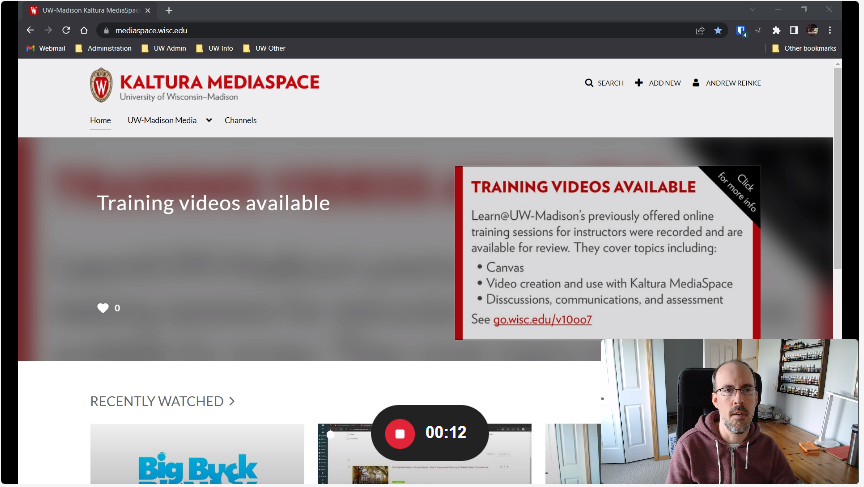
- Once recording a display on the bottom will show you the length of your recording. Click the red Stop button to stop recording.
- After you stop the recording you have a number of options. You may have to scroll to view the options below the video.

- You can use the playback controls to review the recording you just made.
- Click Record Again to delete the recording you just made and start a new recording.
- Click Download a Copy to download a local copy of the file in webm format.
- Click Use This to upload the recording to your Kaltura account and give you the option of providing additional details about your recording.
- Use the scroll bar to scroll down and fill out a:
- Title,
- Description,
- and Publishing Status (Private / Published) for the video.
- Click Save on the bottom.
- Click Save and Embed at the top right:

- Use the scroll bar to scroll down and fill out a:
- Your Canvas Page (or Assignment, or Discussion) will update to display your webcam recording. Depending on the length of your recording you may see a message indicating the video is processing. Click Save on your Canvas Page, Assignment, or Discussion.


