
Saving Custom Views in Tableau
Saving a Custom View of a Tableau Dashboard
To see these instructions in a video tutorial, go to this YouTube video on Sharing Customized Tableau Workbooks.
Once a user has made filter selection on a dashboard to view information relevant to the user, the user may want to save that view so that the dashboard does not need to be reconfigured manually each time the user revisits the dashboard. To save the view:
-
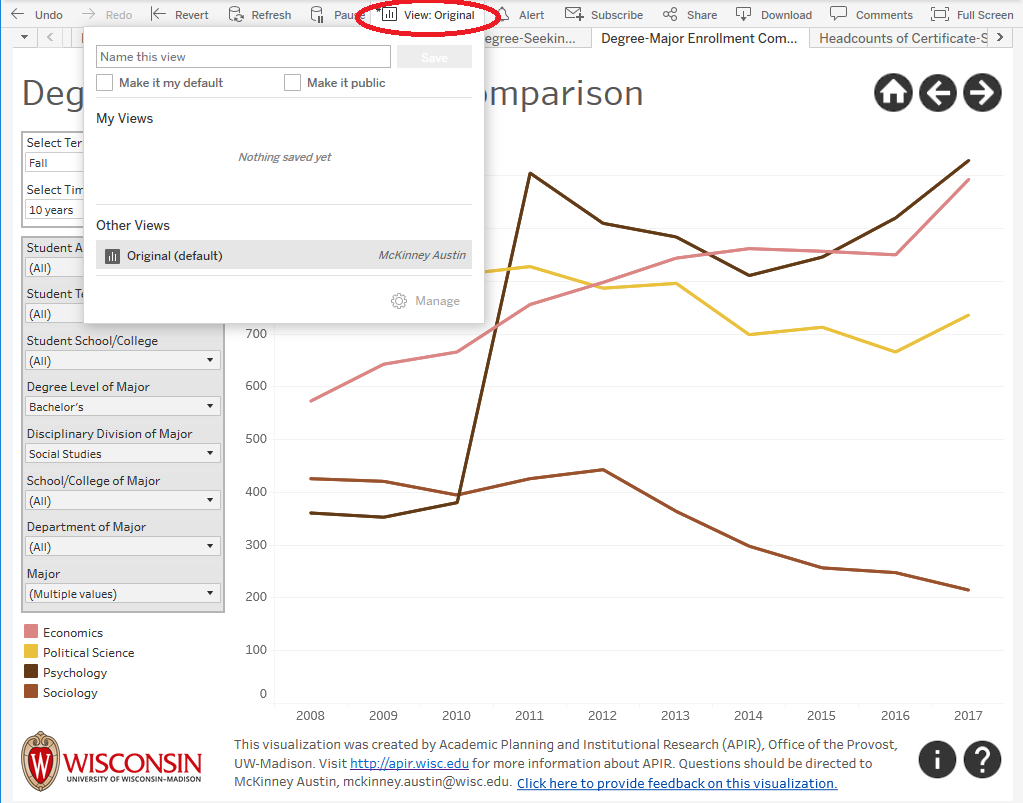
Click "View: Original" from the menu that appears either above or below the dashboard:
-
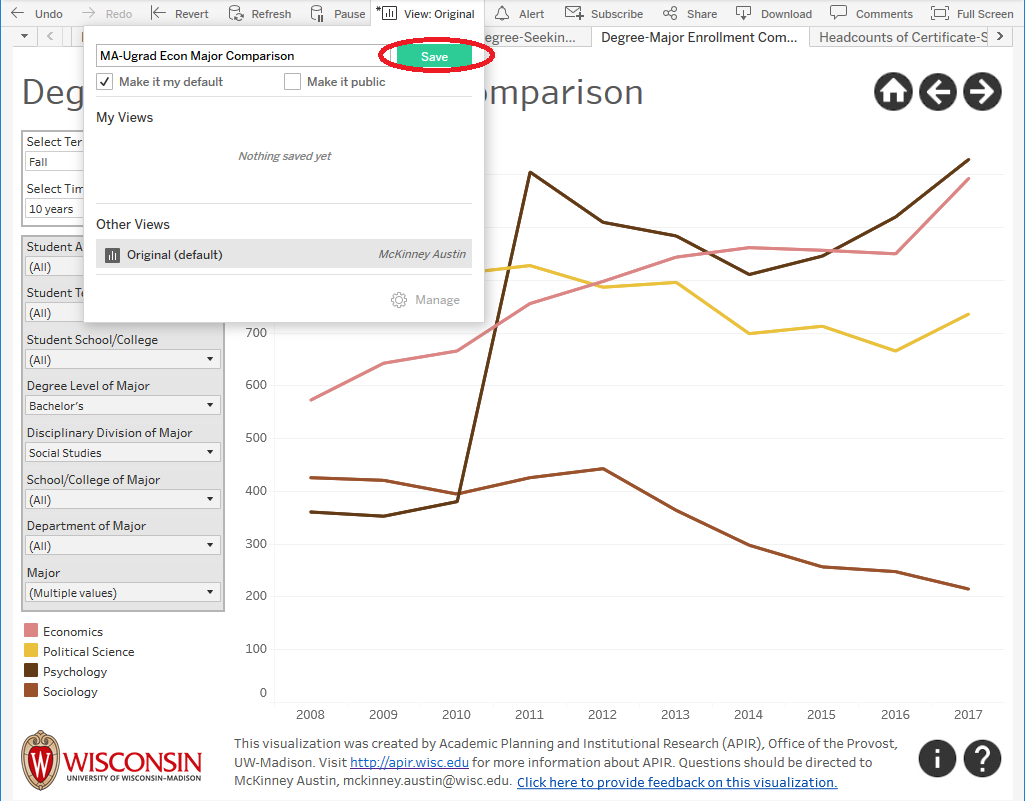
Enter a name that is descriptive of the custom view. If you would like for the new custom view to become the default view when you return to the dashboard, check the box for Make Default. Do not check the "Make Public" box as this will make the custom view appear in other users' menu of views. Click the Save button.
-
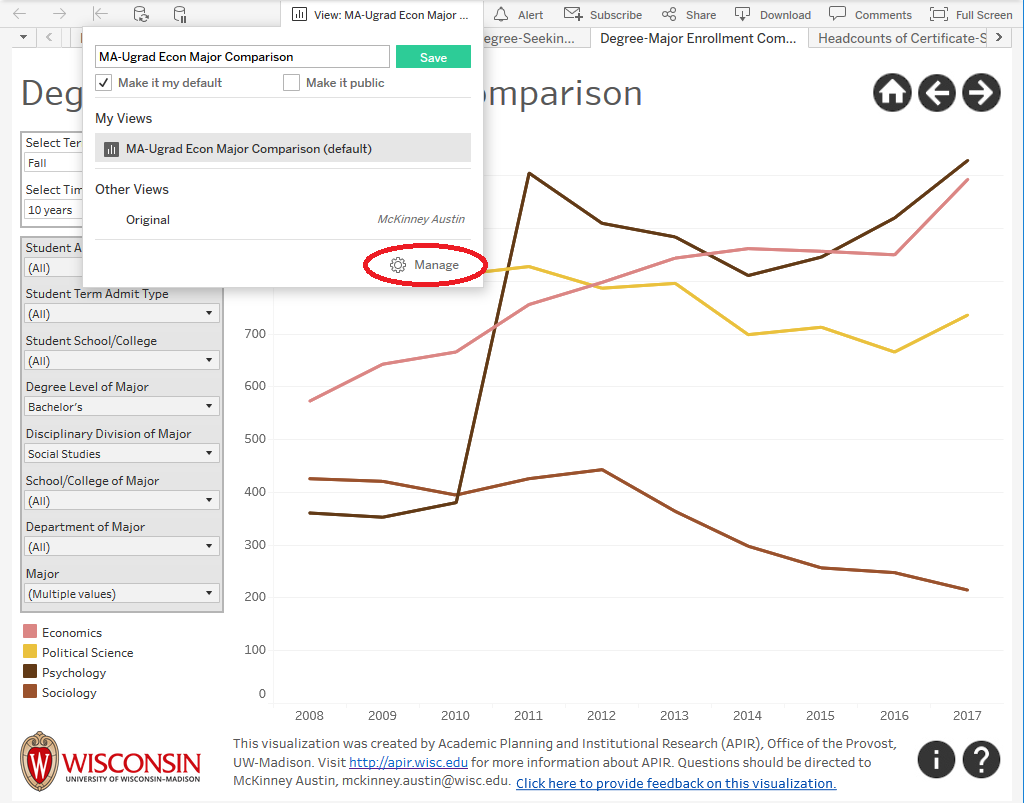
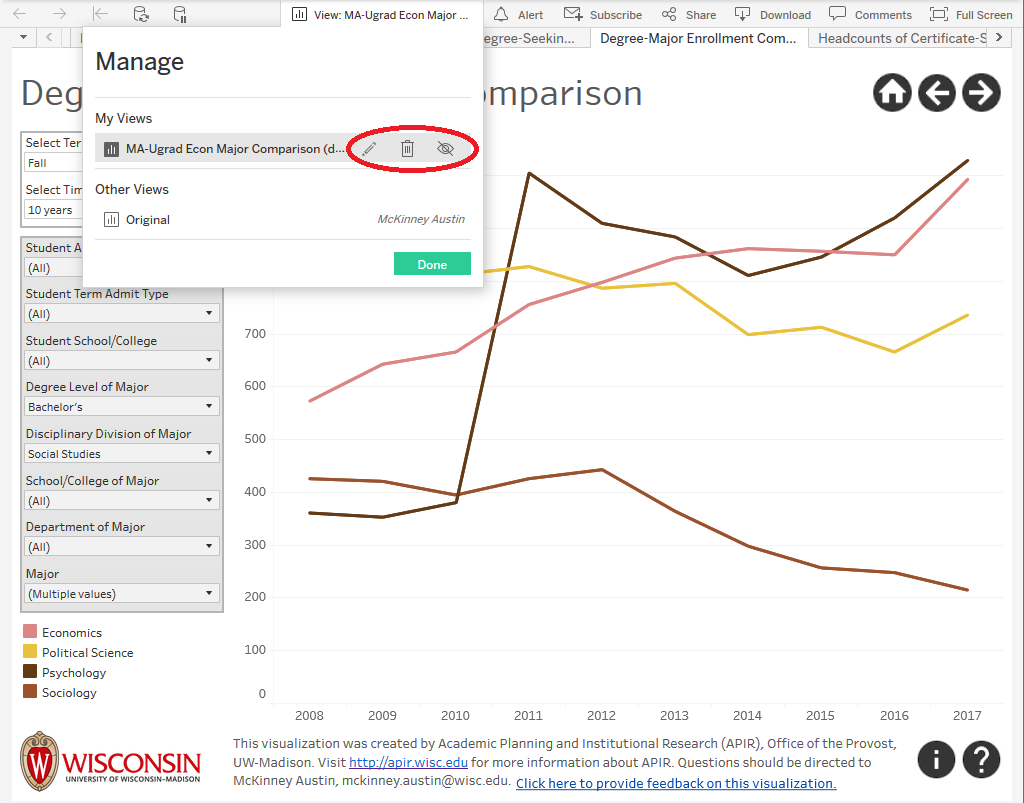
The custom view is now saved. By clicking the View button from the menu above or below the dashboard, the user can now select the custom view or the original view. By clicking the Manage button, the user can rename the custom view by clicking the pencil icon or delete the view by clicking the trash can icon. If the user accidentally makes the custom view public, it can be made non-public by deselecting the eye icon (it should be gray). Click Done after managing the custom view.
Need More Information?
If you have questions about this document, please contact Data, Academic Planning & Institutional Research (DAPIR, https://data.wisc.edu/) at dapir@provost.wisc.edu