KB User's Guide - Documents Tab - Purging Content in Trash Queue Documents
Important
These procedures require full administrative permissions within your space. You must have access to the Documents, Settings, and Users tabs before proceeding.
Once a document has been deleted, as explained here KB User's Guide - Documents Tab - Moving a Document to the Trash, you can Purge the document from the KB System, entirely.
Purge the Content of a Document with the status of Trash
-
Open the KB Admin Tools and click on the Documents tab.
-
Click on the Trash link on the left navigation bar.
-
You will see a screen called Documents in Trash. Within the table is a column titled Purge.

-
Locate the document you want to delete. If you have Publish rights, click Purge in that document's row to permanently delete it from your group space.
-
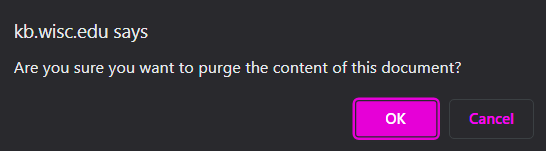
After you click on the Purge button, you will receive a pop up message. If you are certain you are purging the correct document, click the OK button.