Using VPN Pre-Login Authentication for Remote PCs

How to use the VPN Pre-login authentication to log in to remote PCs that are not connected to the WCER network.

Logging into a Windows PC that is on the School of Education active directory (SoE-AD) or campus active directory (CAD) first requires a connection to the campus network. This a done with first connecting the computer to the internet and using the prelogin authentication procedures. 

Remote PCs cache a copy of the users credentials after a successful login allowing you to log in without being connected, but if you are using a new computer that you haven't logged into before, you will need to connect to the VPN before logging in.  This is possible with the latest version of the GlobalProtect VPN client.  This document lists the steps to connect to the VPN prior to login in order to gain access to the PC in these situations.


Requirements

  1. Must be a computer running the Windows operating system.
  2. Must be a WCER provided computer (joined to the SoE or campus domain)

Connecting to the Internet

The PC must be connected to the Internet for the VPN login to work - you can either connect the PC using an Ethernet cable or click on the wireless icon to connect to an available wireless network.  If the wireless network requires a security code to connect you will be able to enter it here.
Connect to your local WiFi network


Connecting to the SoE VPN

Once you are connected to the Internet, click on the icon indicated in the image below to launch the VPN login interface.
Note: If you see "Sign in to: SOE-AD" this is a computer joined to the SoE domain and you will use your SoE credentials. If you see "Sign in to: AD" this computer is joined to the campus domain and you will need to use your NetID credentials. Skip to the next drop down section for campus domain instructions. 
Connect to the VPN

Enter your WCER username and current password (if it has been reset) and click the right arrow button to connect to the VPN.
Sign in with WCER domain credentials

The Window should read "Connecting" and then show a "Connected" message as the VPN connects.  Once the VPN is connected you can click the "Back" button.  (Note that the icon for the VPN has changed)
Click the Back button

You can now enter your WCER username and password and the PC will validate them with the SOE-AD domain and log you in.  The VPN will remain connected after you have logged in.
Sign in with WCER domain credtials

Connecting to the Campus VPN

Once you are connected to the Internet, click on the icon indicated in the image below to launch the VPN login interface.
Note: If you see "Sign in to: AD" this is a computer joined to the campus domain and you will use your NetID credentials. If you see "Sign in to: SOE-AD" this computer is joined to the SoE domain and you will need to use your SoE credentials. Go to the previous section called "Connecting to the SoE VPN" for SoE domain instructions. 

log in page

Enter your NetID username and password and click the right arrow button to connect to the VPN.

vpn login

Input "1" in the text box and click on the arrow to send a Duo push. Click Approve on your Duo device. 

duo push

The Window should read "Connecting" and then show a "Connected" message as the VPN connects.  Once the VPN is connected you can click the "Back" button.  (Note that the icon for the VPN has changed)
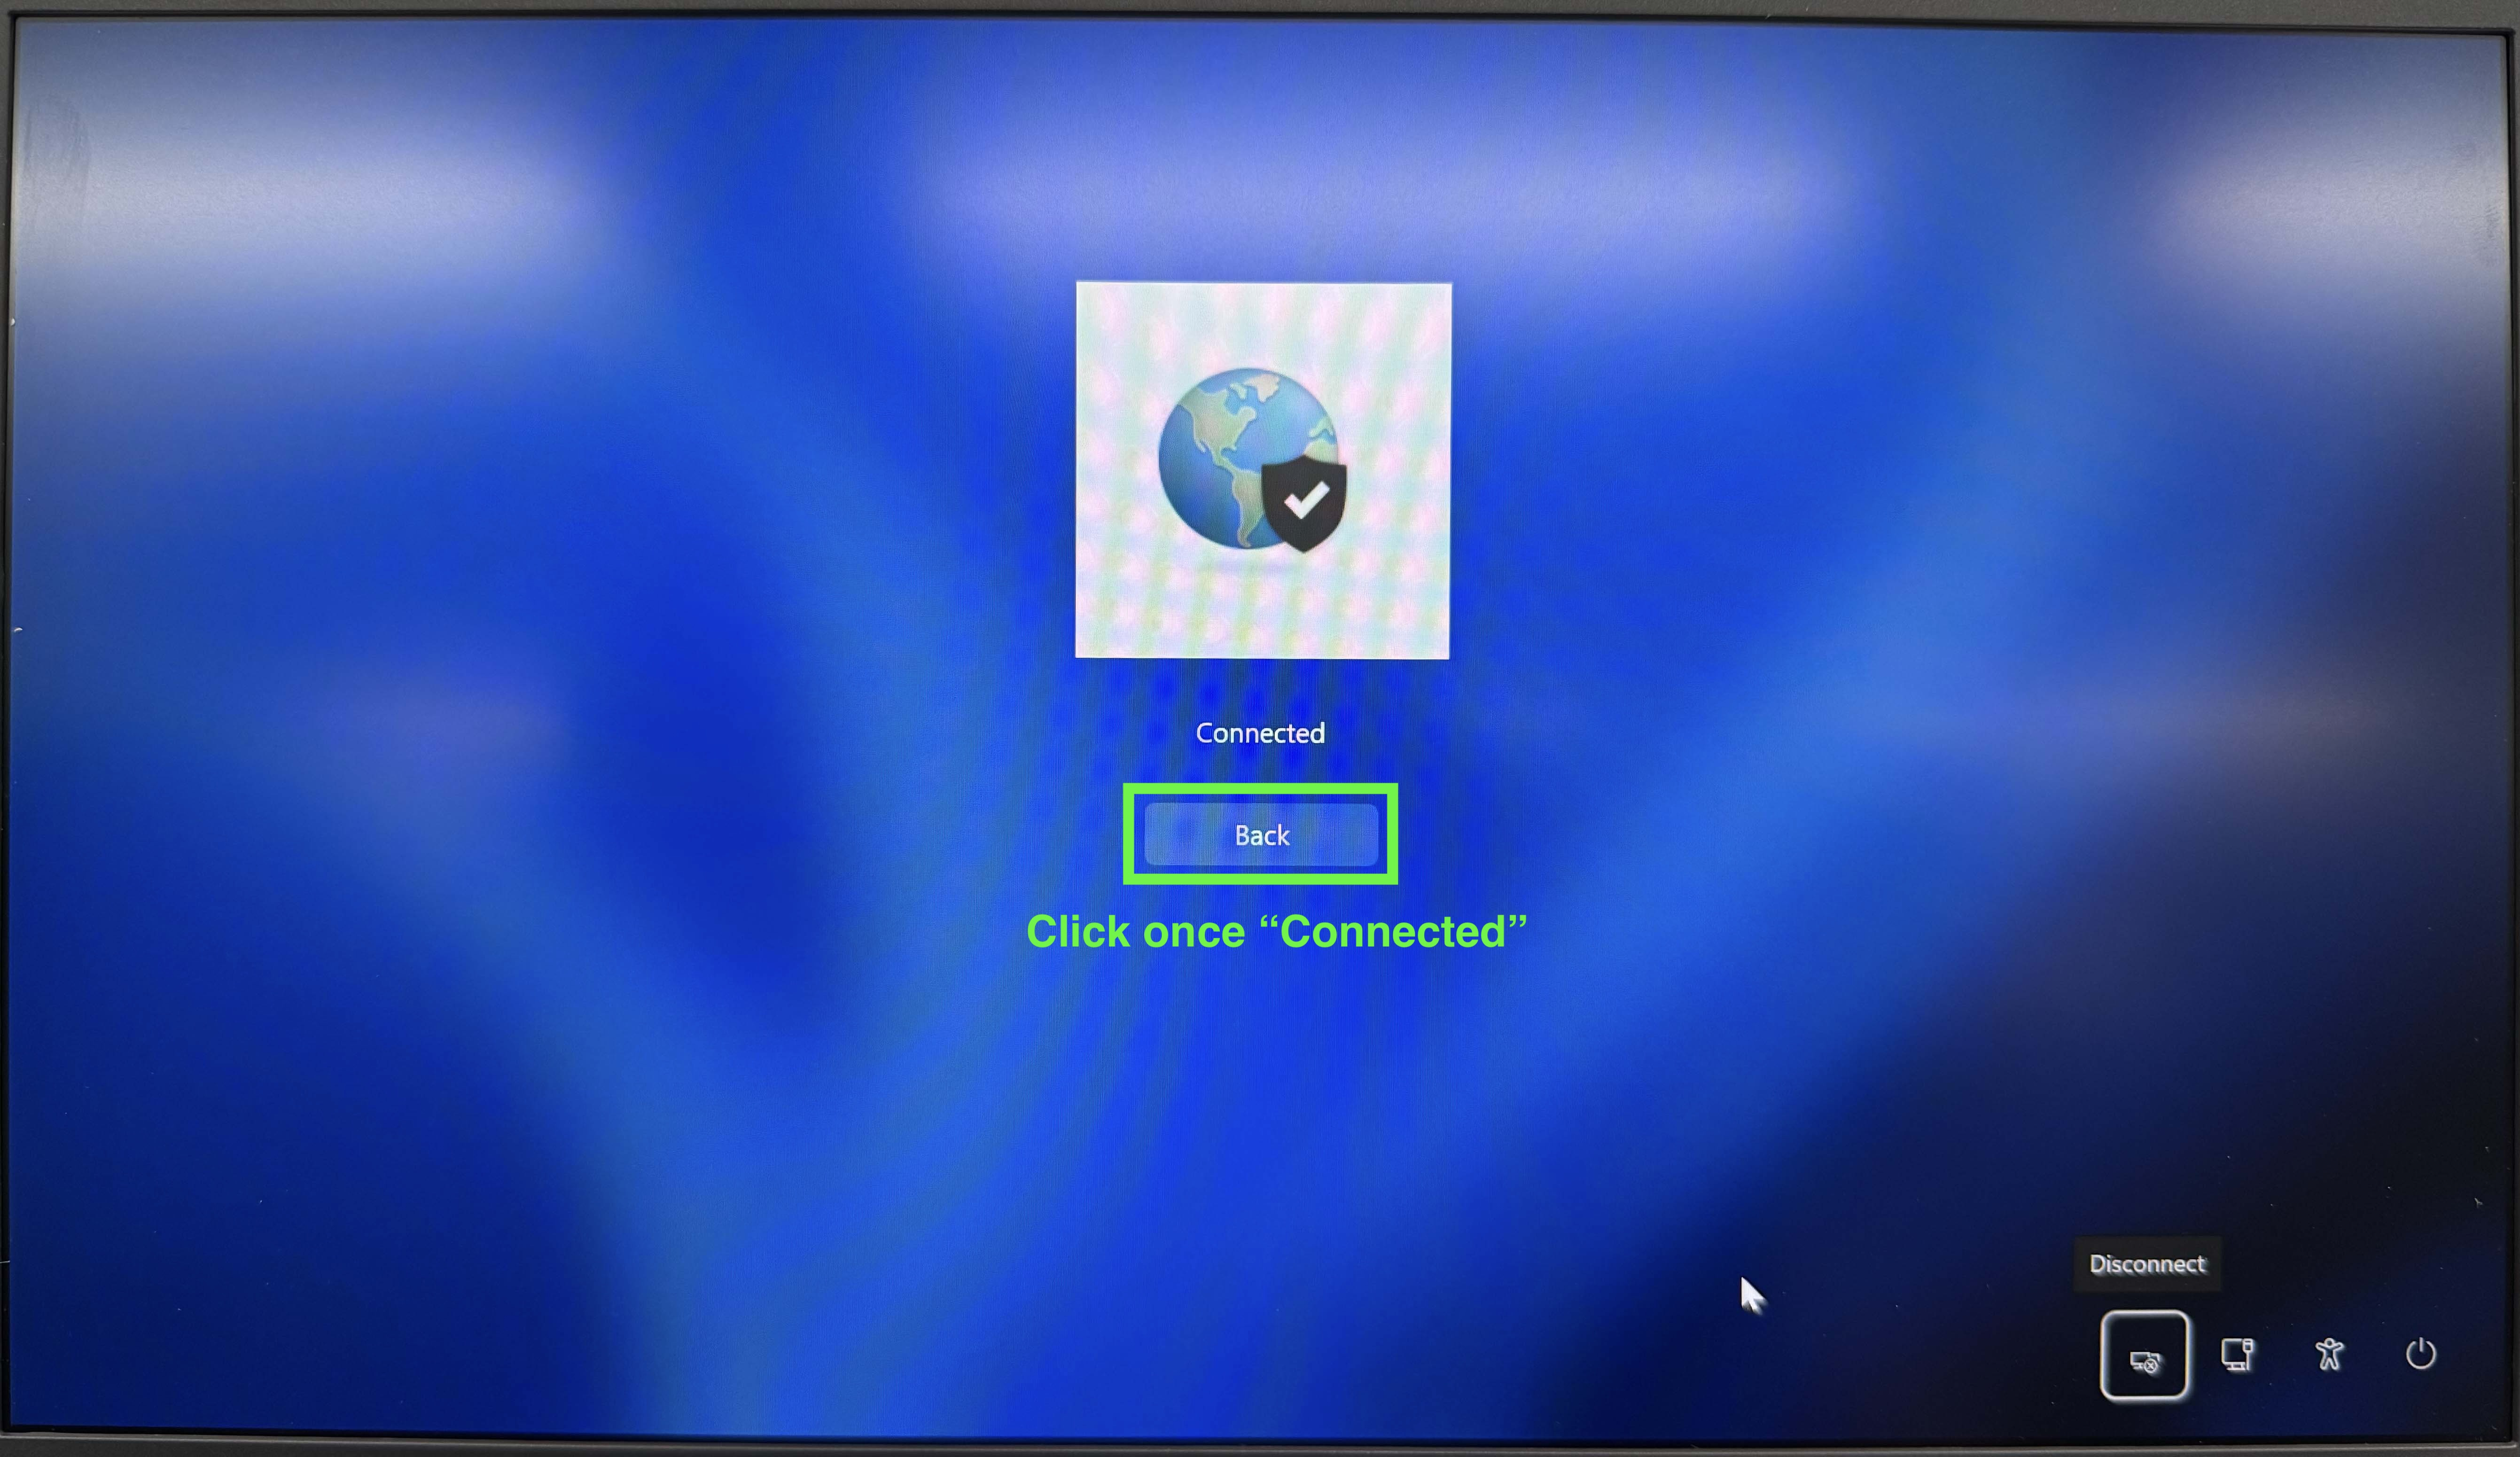
vpn connected

You can now enter your NetID username and password and the PC will validate them with the campus active directory domain and log you in.  The VPN will remain connected after you have logged in.

login page


Video Demonstration

Below is a video of the same directions listed above for remote login to a Windows 11 computer.


Keywords:
VPN, Domain, Logon, PC, Remote 
Doc ID:
114326
Owned by:
Michael S. in WCER
Created:
2021-10-15
Updated:
2025-04-25
Sites:
School of Education, WCER