
SolidWorks Troubleshooting
The source folder is not versioned properly

As stated in the error message, the swdata99.id file is missing. This error can be resolved by recreating the .id file in the location specified in the error message.
- Open Notepad
- Type in the version of SolidWorks you're attempting to install or modify.
- The format is "SOLIDWORKS 20XX SP0X"
- Save this text document in the folder specified in the error message.
- In the screenshot above, this is C:\Users\Cons\Downloads
- Note: the year and version may vary from the screenshot below. Please use the year and version specific to your install.

- Close Notepad and browse to the File Explorer location where you saved the text document.
- Rename the text document to swdata99.id
- In File Explorer, make sure file extensions are set to display. Go to the "View" tab, click on "Details", and check the box for "File name extensions".

-
- Right click on the text document file and select "Rename" from the pop-up menu.
- Highlight the entire name, including the .txt file extension.
- Type in swdata99.id to replace it.

-
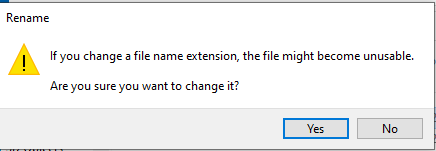
- Note you may receive an error after renaming the file. Click "Yes".
- After following these steps, navigate to the SolidWorks application. You should now be able to install or modify SolidWorks.
Unsupported SQL Server Version
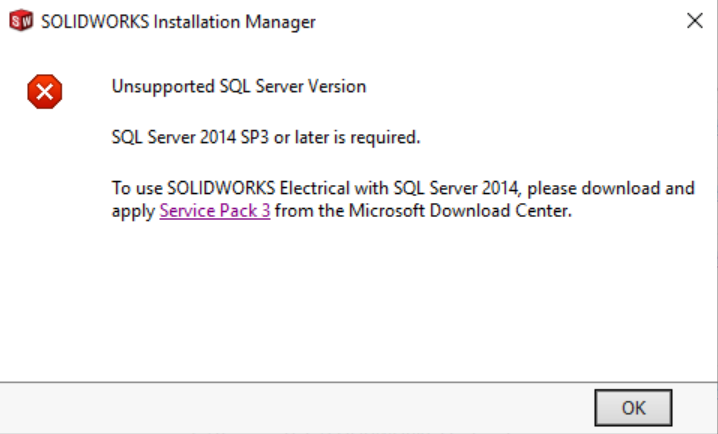
- If you don't need Solidworks Electrical, PDM, or Manage, hit "change" next to the Products section, uncheck the corresponding boxes, and continue the installation.
- If you need any of the options listed above, click the "Service Pack 3" link provided in the error message and install the SQL server. Then, restart your computer and continue the installation process.
How to update Solidworks License Key:
- Close any/all open instances of SOLIDWORKS.
- Open the Windows Start menu and type ‘Add or Remove’. Choose to open the Add or Remove Programs system settings from the search results.

- Select SOLIDWORKS from the list of programs and click Modify to open the SOLIDWORKS Installation Manager

- In the Installation Manager, select Modify your installation and click Next.

- Change the serial numbers as required on this page then click Next, and allow SOLIDWORKS to install whatever extras it requires.

- Click through Next until the final page where you can click Modify Now.

- The Serial number which this computer is associated to for SOLIDWORKS has now been changed.
The current computer identifier does not match

- If you get the message "The current computer identifier (0) does not match the previously used computer identifier (1). You can continue, but you might have activation or deactivation issues in the future.", and updating the license key does not work, please contact the DoIT licensing at licensing@doit.wisc.edu, (not the DoIT help desk) with the problem. Be sure to include the error.
SOLIDWORKS Opens but Certain Applications Fail to Launch or Crash
SOLIDWORKS relies on numerous interconnected components including add-ins, shared libraries, registry entries, templates, and system-level dependencies. If any of these components become corrupted, outdated, or partially removed, SOLIDWORKS itself may still launch, but specific modules or tools (for example Simulation, Routing, Toolbox, or PDM add-ins) may fail to open, crash unexpectedly.
These issues are commonly caused by:
- Antivirus software interfering with installation or updates
- Incomplete or interrupted SOLIDWORKS installations
- Corrupted service pack files
- Damaged registry entries or missing program dependencies
Updating SOLIDWORKS from within the application launches the SOLIDWORKS Installation Manager, which verifies and repairs the existing installation. During this process the installer attempts to:
- Restore missing program components
- Reinstall required system files
- Rebuild registry entries associated with installed products and add-ins
To initiate this update and repair process:
- Open SOLIDWORKS.
- Click the Help icon (question mark) in the upper-right corner of the SOLIDWORKS window.
- Select Check for Updates.
- Follow the prompts to download and install the latest available service pack.
- Restart your computer when prompted to complete the update.

Running this update process can often resolve issues such as:
- Applications or add-ins crashing when opened
- Missing or incorrectly displayed user interface elements
- Toolbox failing to load, appearing empty, or generating errors
- Missing templates or incorrect file associations
If the issue persists after updating, performing a full repair through Windows Programs and Features, or performing a clean reinstall, may be necessary.
Installation Failure at 2%, Visual C++ Errors, or Other SOLIDWORKS Installation Errors
On newer Windows 10 and Windows 11 systems, SOLIDWORKS installations may fail or stop early in the installation process (often around 2%) due to remnants of previous installations or outdated system dependencies.
Common causes include:
- Partially removed or corrupted previous SOLIDWORKS installations
- Outdated or conflicting system components such as .NET Framework or Microsoft Visual C++ Redistributables
- Old SOLIDWORKS program folders that the installer attempts to reuse
- Interrupted or failed previous installation attempts
Updating Windows components using winget can resolve many dependency-related installation failures by ensuring the system environment is current. Additionally, removing leftover SOLIDWORKS folders after uninstalling helps prevent the installer from referencing corrupted or outdated files.
Recommended steps:
- Uninstall any existing or partially installed versions of SOLIDWORKS from:
- Apps & Features (Windows Settings)
- Programs and Features (Control Panel)
- Open Windows Terminal (Administrator) or PowerShell (Administrator).
- Update installed system components by running:
winget upgrade --all
- Allow all updates to complete and then restart your computer. If you are are attempting to upgrade from an older version such as 2023 to 2025 ignore the next step
Important: If you are performing an upgrade from an older version of SOLIDWORKS (for example 2023-2025), do not automatically delete all SOLIDWORKS folders and ignore the following step, step 5. Deleting these folders may result in missing or broken Toolbox configurations or other system errors. Folder removing is primarily recommended when troubleshooting a failed installation or performing a clean reinstall.
- After restarting, check for and remove any remaining SOLIDWORKS directories such as:
C:\Program Files\SOLIDWORKS Corp\C:\Program Files\SOLIDWORKS\C:\ProgramData\SOLIDWORKS\C:\ProgramData\SOLIDWORKS Corp\C:\Users\<username>\AppData\Local\SOLIDWORKS\C:\Users\<username>\AppData\Roaming\SOLIDWORKS\
Note: Before deleting these folders, back up any custom templates, Toolbox data, macros, or design libraries.
- Restart the computer again.
- Run the SOLIDWORKS installer as Administrator and perform a fresh installation.
These steps refresh critical Windows dependencies, remove conflicting remnants from previous installations, and provide the SOLIDWORKS installer with a clean environment for installation.