Microsoft 365 (Thunderbird) - Configuring Two Accounts for Email Backup
This document provides best-effort instructions on how to configure two accounts for email backup.
Notice of Risk
No Liability for Data Loss: The DoIT Help Desk will provide guidance on various email backup, archival, or migration options. However, DoIT, the University of Wisconsin–Madison, and Microsoft are not responsible for any data loss or data corruption that may occur during this process. While these methods are reliable, migration of mail is voluntary and you assume all risk during this process.
Instructions to Download, Install, and Configure Thunderbird
Please complete these three items before beginning to copy your NetID@wisc.edu emails to a secondary email.
Download and install Thunderbird using the following documentation:
Configure Thunderbird with your UW NetID@wisc.edu Account using the following documentation:
Configure a Personal Email Account using the following documentation:
-
- Automatic Account Configuration
- After configuring your NetID@wisc.edu email account and your secondary email account, please allow all your emails to sync with their respective email servers to the Thunderbird email client before attempting to modify any emails or folders.
Instructions on Copying Emails
Once you have followed the steps above, you may move on to the following steps to copy your NetID@wisc.edu emails to your configured secondary email.
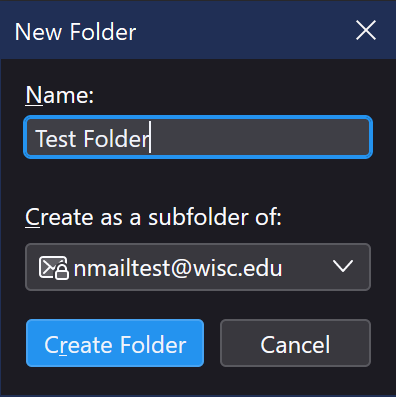
- Create a folder in the secondary email configured to the Thunderbird email client by right-clicking on your secondary email's "Inbox" and selecting "New Folder" and name the folder. This will serve as the folder where all your NetID@wisc.edu emails will be stored within your secondary email account.

Screenshot on the left: Right Click on "Inbox" + Select "New Folder", Screenshot on the right: this window will appear where you can name the new folder. - To copy an email into the folder you created, highlight the email, right-click, and select "Copy To" and select the folder you created in Step 1. The email should now be copied to your newly created folder.
Note: Thunderbird allows to copy sub-folders to secondary emails by following the same right-click & select "Copy To" workflow described in Step 2. This does not work for primary folders such as "Inbox", "Sent Items", "Deleted Items", and "Junk Mail". If you are intending on copying all the emails within those primary folders, it is recommended to use the "Select All" keyboard shortcut, CTRL + A. Then you may right-click and select "Copy To" to move multiple emails at once.
Screenshot: Select Emails to Copy + Right Click on selected emails and select "Copy To > [Email Copying From] > Inbox > [Name of Folder You Created] - To verify that the email successfully copied to your secondary email, log in to your secondary email through a web browser to confirm that the email is in the folder location that you copied the email to within Thunderbird.

