
ECMS - Early Client Installation for the TEST environment - August 2026, 26.1 build 242
This document explains how to install the Perceptive Content client version required for testing in the TEST Imaging environment and for user acceptance testing the morning of August 14, 2026
[Doc 8386 content is unavailable at this time.]
Perceptive Content Desktop Client Installation Steps
IMPORTANT: Do NOT install this version of the client on the computer you use to access the PRODUCTION Imaging environment! Before installing this client please review and understand your options by reading the Testing Protocol here: ECMS - Testing Protocol for August 2026 ECMS/Imaging Update
If you have questions please email imaging-support@doit.wisc.edu
- Download the latest client installer here (973 MB)
- Locate the downloaded file on your computer,
then rename the installer from ClientSetup_26.1_242.exe.rename
to ⎯⎯⎯⎯⎯⎯⎯⎯⎯⎯⎯⎯⎯⎯⎯⎯⎯⎯➢ ClientSetup_26.1_242.exe - Right-click on the renamed .exe file and select Run as Administrator.
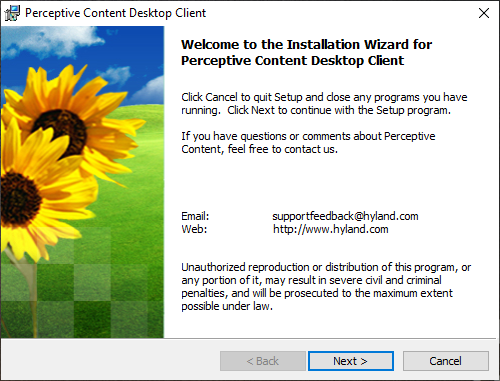
- InstallShield Wizard will launch and present a Welcome screen. Click [Next >]
- If the required supporting files for Microsoft C++ Redistributable and Microsoft .NET are not installed, you will be presented with a dialog to install them. If they are already installed, this dialog will not appear. You must install these files.
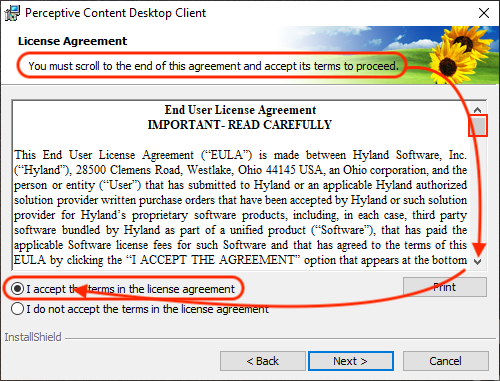
- Scroll to the end of the license agreement and select I accept the terms in the license agreement, then click [Next >]
- On the following dialog, you will be able to select specific features for installation. It is recommended that you select features as shown. Once you have made your selections, click [Next >]

- If you are installing the client for the first time, an additional dialog will appear requesting that you configure at least one Connection Profile used to connect to the Perceptive Content server. In the "Default Connection Profile" dialog, configure the connection profile for Test using the information here: ECMS - Creating Imaging Account Connection Profiles
- The installer will ask for the Deployment Server URL. Since you are installing the latest version of the client only for testing, this field should be blank. If not, you should blank it. Click [Next >]

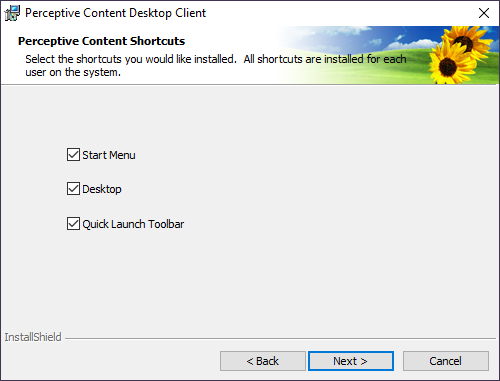
- The installer will present a dialog on which you can select shortcuts; choose according to your preference:
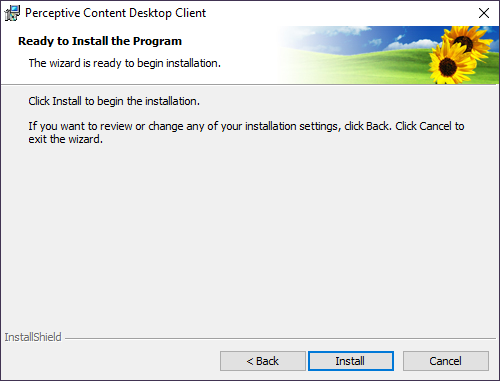
- Now you can click on the [Install] button and the client installation will begin:
- Possible Warnings:
- If you are upgrading from a previous version of the Perceptive Content client, the PEDS Service Monitor may be loaded. If so, the installer will present this dialog. You should select "Automatically close and attempt to restart applications" and click on the [OK] button to continue the installation...

- If you are upgrading from a previous version of the Perceptive Content client and you had the old client running, the installer may present an error dialog. You should switch to the running Perceptive Content client and close it, then switch back to the installer and click on the [Retry] button to continue the installation...
- If you are upgrading from a previous version of the Perceptive Content client, the PEDS Service Monitor may be loaded. If so, the installer will present this dialog. You should select "Automatically close and attempt to restart applications" and click on the [OK] button to continue the installation...
- This Installation Wizard Completed dialog will be shown when the upgrade is finished:

- To test the ImageNow Printer features, additional steps will need to be completed:
ECMS - Configuring the ImageNow Printer and Tiff Compression Formats