GSTS - Add Program Milestones
This document instructs you on how to add Program Milestones to the student record for tracking the progress of non-coursework requirements for degree completion. These steps show only the minimum requirements for filling out a milestone. Programs have the flexibility to use the additional fields on the milestone page as they see fit.
Instructions
- Log into the Student Information System (SIS) using your Net ID and password.

- Click on Student Records WorkCenter.
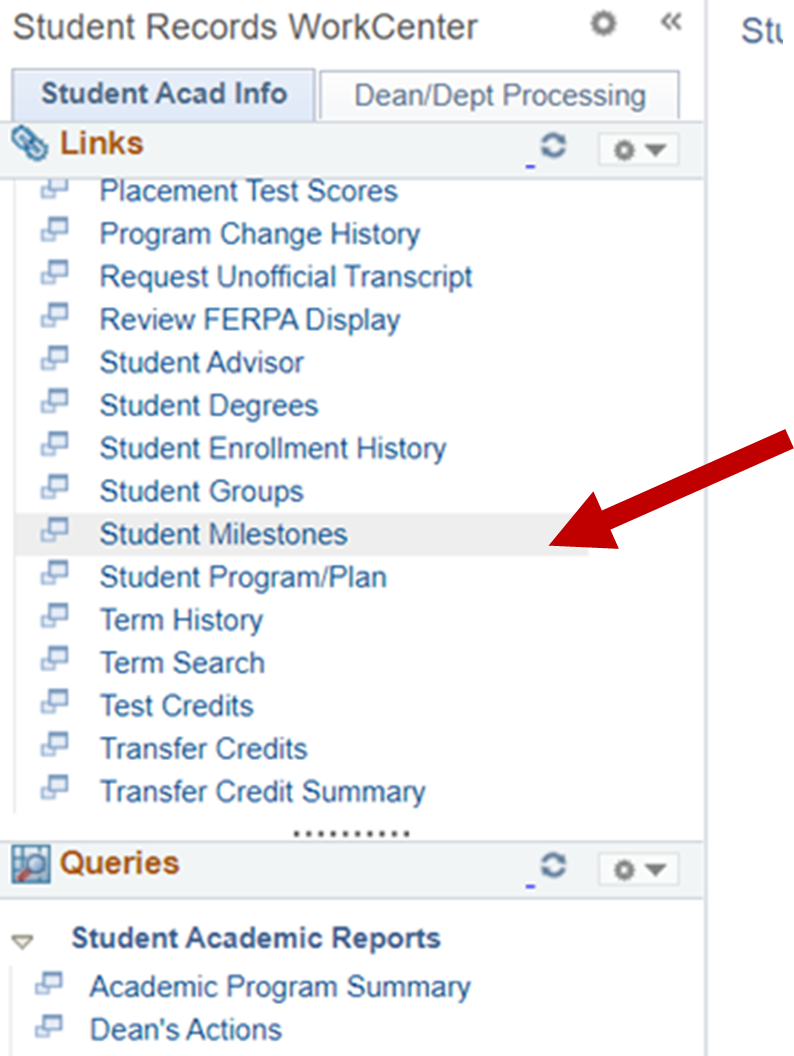
- On the Student Records WorkCenter menu, select Student Milestones.
- Select the Add a New Value tab to add new milestones for a specific student.

- In the ID field, enter the students EMPL ID # - not their campus ID. You can use the magnifying glass next to the box to look it up using their name.
- If it isn't already filled in, enter UWMSN in the Academic Institution field.

- In the Academic Career field, enter GRAD, and click the look-up glass next to Academic Program and select the corresponding career number and Academic Program code for which you would like to assign the milestone.
(Note: If a student has more than one career number and more than one Academic Program code and you are unsure which one to choose follow the supplemental instructions for Looking up Career Number and Academic Program)

- Select Add.
- If the emplID populates from the Search Results, click on the arrow across from the student's ID number under Search Results.

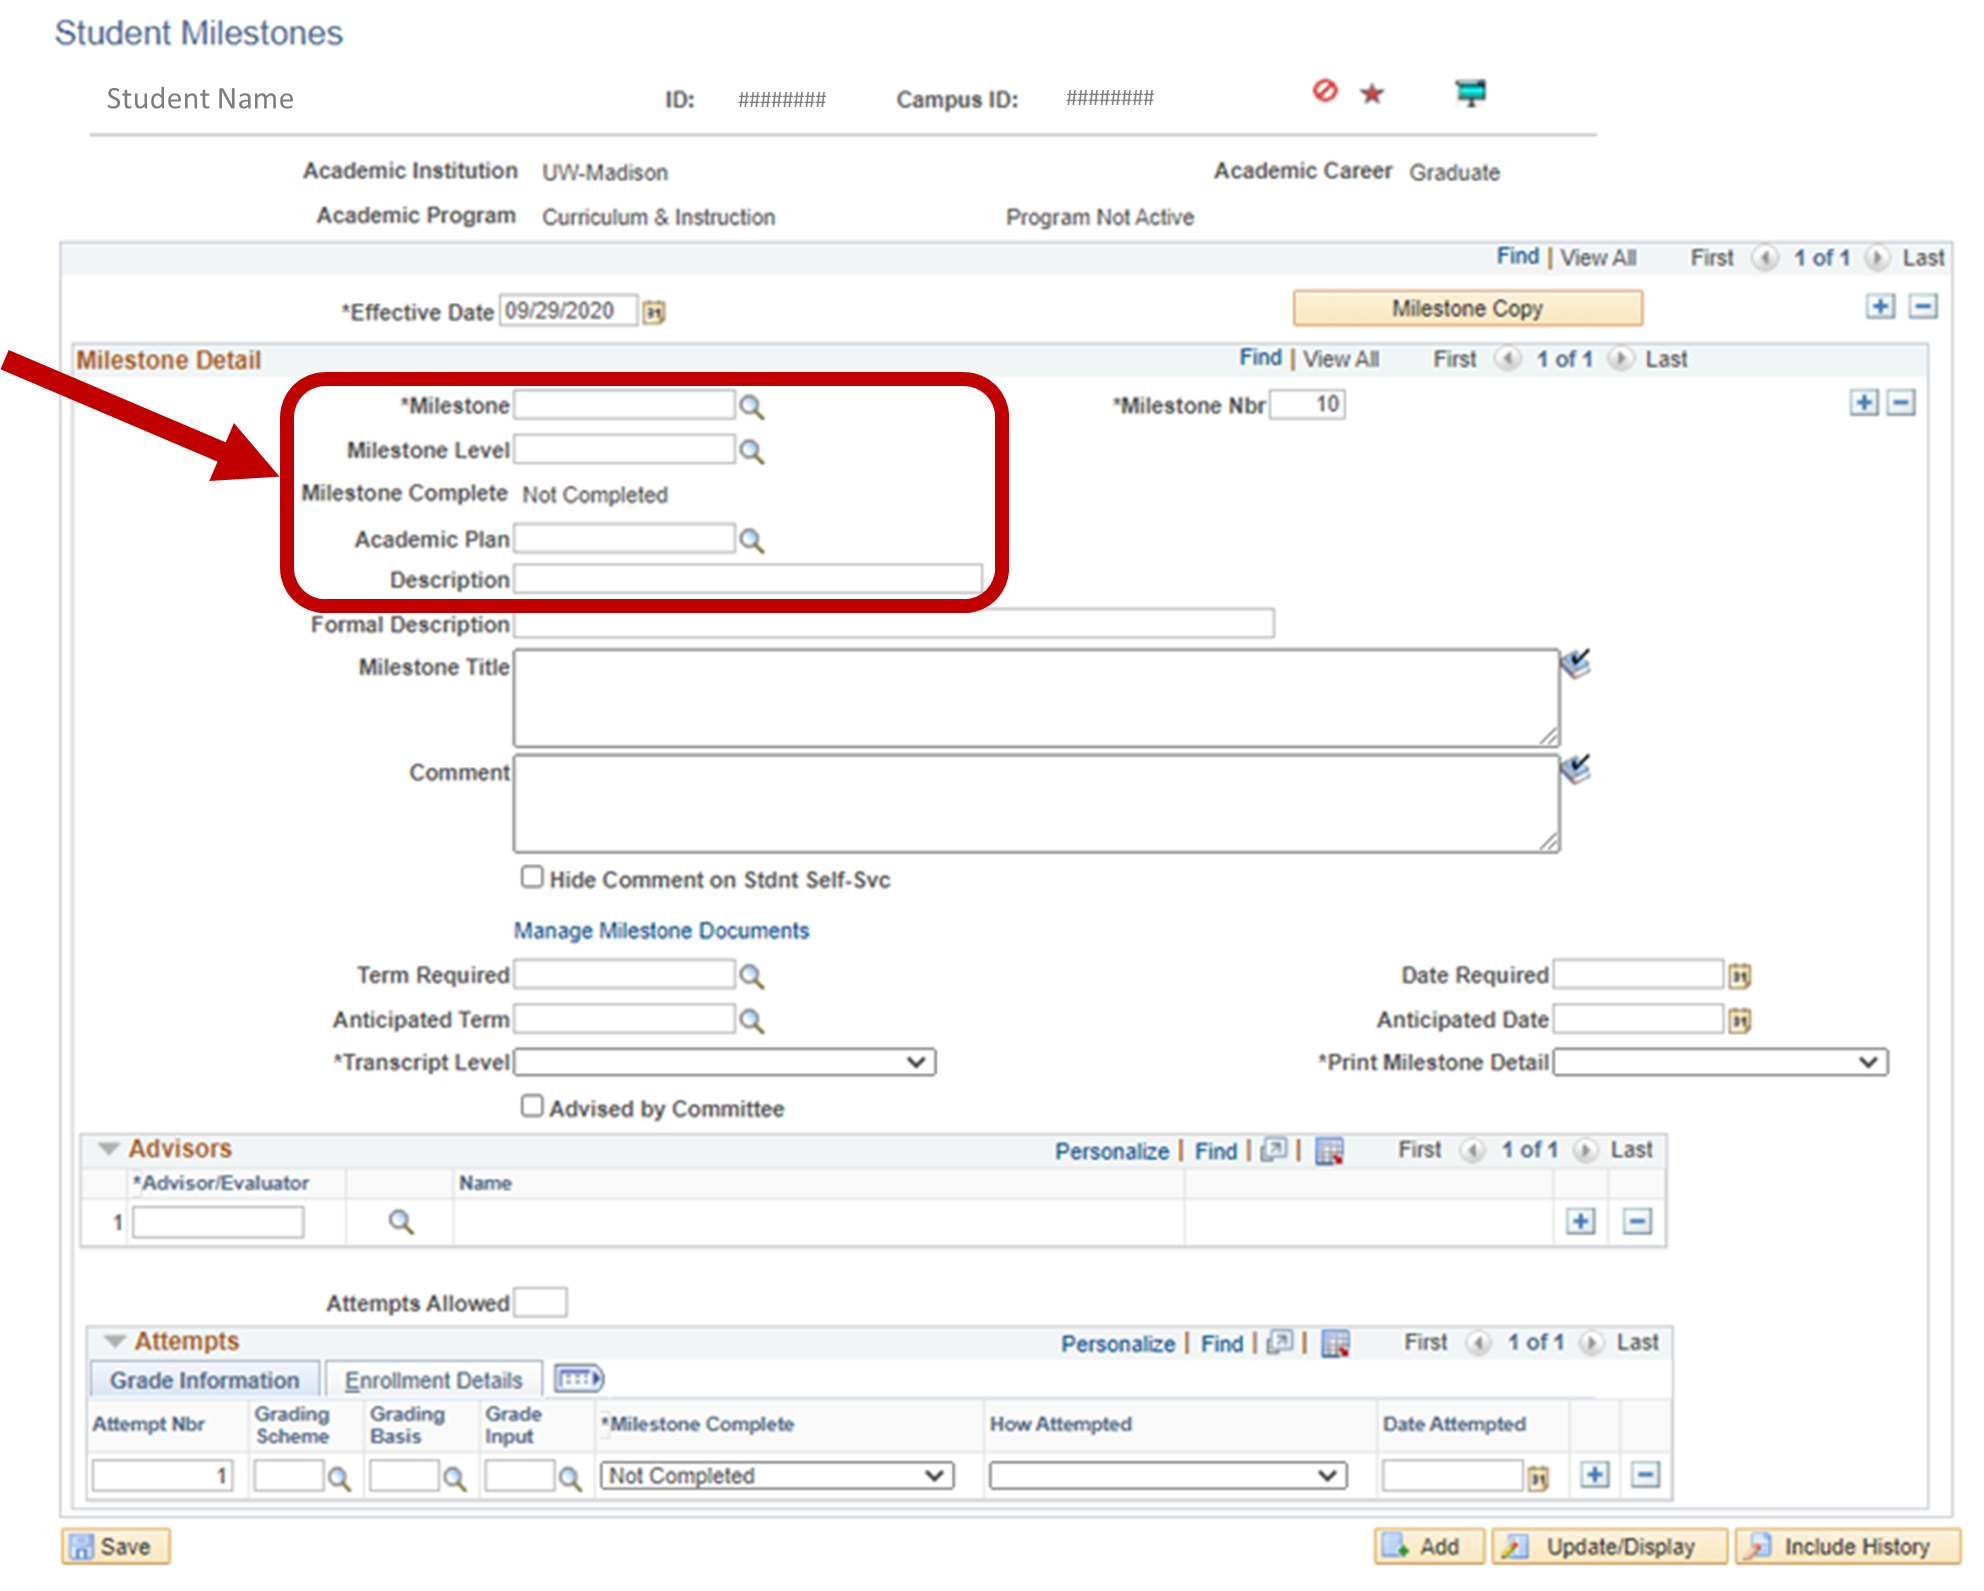
- The next page will populate with the student's information (EMPLID, Campus ID, Academic Institution, Academic Program, and Academic Career) at the top of the Student Milestones page.
- If there is information in the Milestone Detail section, follow the supplemental instructions for Assigning Milestones for Students with Existing Milestones.
- If there is no information in the Milestone Detail section, follow instructions on how to fill out a Program Milestone.
- To add another milestone for the same student, click on the lower [+] Add button across from the Milestone Nbr field (not the upper [+] Add button across from the Milestone Copy button) and fill in the information for additional milestones.
- Once you are done adding milestones and filling out the details for a student, click the Save button in the bottom left corner.


